Oversized T-Shirt Armhole Depth Guide
Oversized T-shirt armhole depth is easy to overlook because buyers usually focus first on chest width, shoulder drop and body length. Yet the armhole controls how the sleeve joins the body, where the underarm sits and how much fabric moves when the wearer raises an arm. A pattern can look wide on a flat table and still feel restrictive, collapse at the side seam or produce an unintended batwing shape.
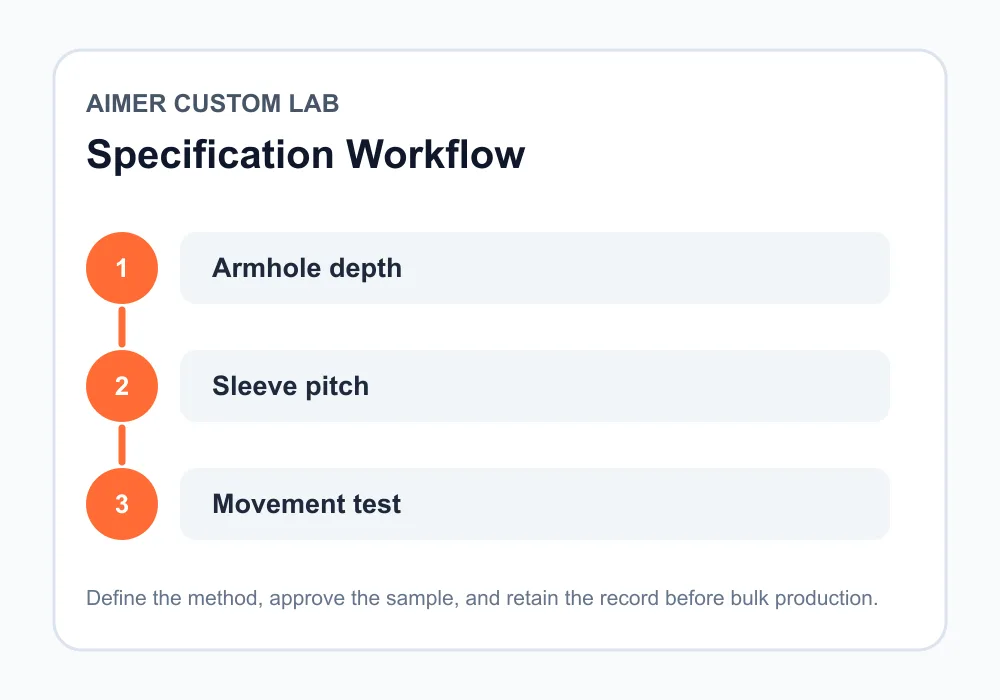
Quick Answer: Set oversized T-shirt armhole depth together with shoulder drop, sleeve width, sleeve pitch and chest ease. Do not lower the armhole simply to make the garment look larger. Review a measurement sheet, walk the sleeve and armhole seamlines, fit a production-intent sample, check overhead movement, and approve the complete size range before bulk cutting.
What is oversized T-shirt armhole depth?
Oversized T-shirt armhole depth describes the vertical position of the underarm relative to a stable upper-body reference on the finished pattern or garment. Brands and factories may use different points of measure, so a tech pack must show exactly where measurement begins and ends. It should also distinguish a straight vertical measurement from the curved armhole seam length.
Armhole depth is not the same as armhole circumference. It is also not a stand-alone comfort number. A deeper armhole changes the body panel, sleeve cap, bicep area, underarm seam and the amount of fabric lifted during movement. The Seamwork armhole adjustment guide shows why corresponding front, back and sleeve pieces need to be changed together instead of altering one curve in isolation.
How does oversized T-shirt armhole depth change the silhouette?
A moderate drop can support a relaxed, low-underarm appearance. Excessive depth can pull too much body fabric into the sleeve, make the side seam rise when the arm lifts and create folds that hide a center-front or side print. A shallow armhole can produce the opposite problem: the garment may bind at the underarm even when the chest is wide.
The result also depends on fabric. A soft lightweight jersey may collapse into vertical folds, while a dense heavyweight knit can hold a more architectural shape. The approved pattern therefore has to be tested in the intended fabric, finish and wash condition. A reference garment made from another GSM or knit structure is useful for direction but is not a finished specification.
| Pattern choice | Likely visual effect | Buyer check | Possible risk |
|---|---|---|---|
| Higher underarm | Cleaner body-to-sleeve junction | Reach and bicep comfort | Binding if sleeve width is insufficient |
| Moderately lowered armhole | Relaxed streetwear drape | Side-seam lift during movement | Extra folds around chest print |
| Very deep armhole | Batwing or exaggerated volume | Fit on intended wearer and layering | Bulk, restricted lift and unstable grading |
| Changed depth without sleeve revision | Unpredictable sleeve hang | Walk corresponding seamlines | Twisting, puckering or mismatched notches |
How should oversized T-shirt armhole depth and sleeve pitch work together?
The sleeve must be built for the armhole it enters. Sleeve pitch describes the sleeve’s rotational orientation in relation to the body. If the pitch does not match the intended posture and shoulder position, diagonal drag lines may appear at the front or back of the sleeve. Moving a dropped shoulder seam changes the effective top of the sleeve, so copying a sleeve from a regular-fit block can create an unstable result.
Pattern technicians commonly “walk” the sleeve seamline around the front and back armhole seamlines to compare lengths, notch positions and the distribution of any ease. Threads explains this walking process and the relationship between sleeve-cap and armhole markings. For a cut-and-sew order, ask the factory to retain the approved pattern version rather than relying only on finished-garment measurements.
What should the tech pack record?
- The point-of-measure diagram for armhole depth.
- Front and back armhole seamline lengths where technically required.
- Shoulder drop, across-chest and across-back measurements.
- Sleeve length from the stated reference point.
- Bicep width, sleeve opening and underarm seam length.
- Front, back and shoulder sleeve notches.
- Fabric composition, construction, weight and stretch direction.
- Approved sample code, pattern revision and wash condition.
How do you inspect oversized T-shirt armhole depth on a sample?
Start with the garment conditioned and laid without stretching. Confirm the measurement method matches the specification. Then evaluate it on a wearer or form that represents the target size. The purpose is not to judge one pose; it is to see whether the body, shoulder and sleeve remain balanced through normal movement.
- Flat measurement: Verify armhole depth and related sleeve and body points using the same landmarks shown in the tech pack.
- Neutral posture: Check whether the sleeve hangs forward, backward or straight as intended and whether the underarm creates uncontrolled folds.
- Arms forward: Observe tightness across the upper back and sleeve pitch.
- Arms overhead: Record how far the hem and side seams lift; compare sizes consistently rather than relying on a vague comfort comment.
- Layering check: If the T-shirt is designed as a pump cover or layering piece, test it over the intended base garment.
- After-care review: Repeat key measurements and movement checks after the agreed laundering procedure.
Use the existing oversized T-shirt measurement guide to keep point-of-measure language consistent, and connect the result to the streetwear sampling process before approving bulk production.
How should armhole depth be graded across sizes?
Do not assume that every point should increase by the same amount. The body width, shoulder drop, armhole depth, sleeve width and sleeve length form a size system. If armhole depth grows too quickly, larger sizes can become excessively low and bulky. If it grows too slowly, the bicep and movement allowance may not keep pace with the body.
Approve at least representative smaller, base and larger sizes when the range is broad. Review the full measurement chart and overlay or compare pattern pieces where possible. The base-size sample can establish design direction, but the size set proves that the rule works beyond one garment. Record any split grading rule for extended sizes instead of asking production to “scale proportionally.”
What defects indicate an armhole problem?
- Diagonal drag lines from the armhole toward the chest or back.
- A sleeve that rotates forward or backward unexpectedly.
- Underarm fabric that bunches heavily when the arm rests.
- Side seams and hem lifting excessively during normal reach.
- Armhole seam puckering caused by mismatched lengths or feeding.
- Front and back notches that do not align during sewing.
- A large difference in silhouette between adjacent sizes.
- Print or embroidery placement distorted by folds from the armhole.
These signs do not always have a single cause. Fabric stretch, sewing tension, shoulder slope, sleeve width and pattern balance can create similar symptoms. Mark the observation, garment size, fabric lot and movement condition before asking for a pattern correction.
Frequently asked questions
Is a deeper armhole always more oversized?
No. Oversized fit is a proportion system involving width, length, shoulder position and sleeve shape. Excessive armhole depth can create unwanted bulk without improving the intended silhouette.
Can a factory copy armhole depth from a reference T-shirt?
A reference can communicate direction, but the new fabric, size range and sleeve design may behave differently. Convert the reference into measurements and approve a production-intent sample.
Should armhole depth be measured on the pattern or garment?
Both can be useful, but they answer different control needs. The tech pack should define the finished-garment point while the factory retains pattern seamline information for construction.
Why does the hem lift when the wearer raises an arm?
Some lift is normal, but the amount is influenced by armhole depth, sleeve geometry, chest ease and fabric. Compare it with the approved sample and intended use rather than using a universal limit.
Does heavyweight fabric require a different armhole?
Often it requires reassessment because a dense knit drapes and folds differently from a light jersey. The correct pattern must be confirmed in the actual material.
When should a size set be approved?
Approve representative sizes after the base fit is stable and before bulk cutting, especially when the range includes extended sizes or a strongly exaggerated silhouette.
Conclusion: approve the relationship, not one measurement
Reliable oversized T-shirt armhole depth comes from coordinated pattern geometry, fabric behavior and sample movement. Define the point of measure, connect it to sleeve pitch and shoulder drop, inspect more than one size and retain the approved pattern revision. Send Aimer Custom Lab your tech pack, target size range, fabric reference and fit images so the development team can confirm the sampling requirements before quotation and bulk planning.