
Oversized T-Shirt Measurement Guide for Streetwear
An oversized T-shirt measurement guide converts words such as relaxed, boxy and drop-shoulder into specifications a pattern maker can reproduce. The silhouette depends on the relationship between shoulder width, chest, length, sleeve volume, neck opening and fabric behavior—not on sizing up a regular tee.
Quick answer: define the target silhouette first, create a points-of-measurement chart with diagrams, fit one base size on the intended body type, and approve grade rules across representative sizes. Record how every measurement is taken so supplier and buyer compare the same points.
Why an Oversized T-Shirt Measurement Guide Starts with Fit
A regular T-shirt enlarged by one or two sizes may become longer without creating the desired streetwear proportions. A designed oversized tee usually controls chest width, shoulder drop, sleeve shape and body length independently. The result may be long and relaxed, wide and boxy, or cropped with strong sleeve volume.
Choose the intended visual outcome before assigning numbers. Use reference photos only to communicate direction; translate the original design into your own measurement chart rather than copying another brand’s product.
Use the oversized T-shirt measurement guide as a shared product-development reference, not as a substitute for fitting the actual sample.
Core Points of Measurement
| Measurement | Why it matters | Common review risk |
|---|---|---|
| Chest width | Controls body volume and layering room | Too much width without hem balance |
| Shoulder width | Creates the drop-shoulder position | Seam falls too low and restricts sleeve balance |
| Body length | Defines long, standard or cropped proportion | Sizing up makes the garment unintentionally long |
| Sleeve length | Works with shoulder drop to set total reach | Measured from the wrong reference point |
| Sleeve opening | Controls visual volume and movement | Opening collapses or looks too narrow |
| Neck width and drop | Sets comfort and neckline appearance | Opening stretches or sits too low |
| Hem width | Controls taper, straightness and boxy shape | Unexpected flare or tightness |
Measurement examples published by blank and print suppliers can help buyers understand the variables, but they are not universal size standards. The recent T-Shirt Elephant boxy-fit overview, Cloprod’s silhouette engineering guide and Kellogg Fashion’s fabric-weight article all show that measurements, fabric and drape must be considered together.
Document How Each Point Is Measured
A number is useful only when the measurement method is shared. State whether the garment is laid flat, how wrinkles are removed, where the tape begins and whether rib or binding is included. Add a diagram with labeled points.
For example, sleeve length can be measured from the shoulder seam, from center back neck or as a combined shoulder-and-sleeve dimension. Any method can work if it is defined consistently. Mixing methods creates a false discrepancy.
An oversized T-shirt measurement guide should pair every number with a named reference point and a clear measuring method.
Build the Base Size Before Grading
Select a base sample size that represents the core customer and fit model. Develop the pattern, make the sample, measure it, conduct a fit session and revise the specification. Do not grade an unapproved pattern because every unresolved balance problem will spread across the size range.
During the fitting, review:
- The natural shoulder point and actual seam position
- Chest and hem balance from front and side
- Sleeve angle, length and opening
- Body length when standing, sitting and layering
- Neckline comfort and collar recovery
- Side-seam position and twisting
- How the fabric folds while moving
Photograph the same views for every revision. Record the sample’s fabric reference because changing weight, knit or finishing can change the apparent fit even when the pattern measurements remain similar.
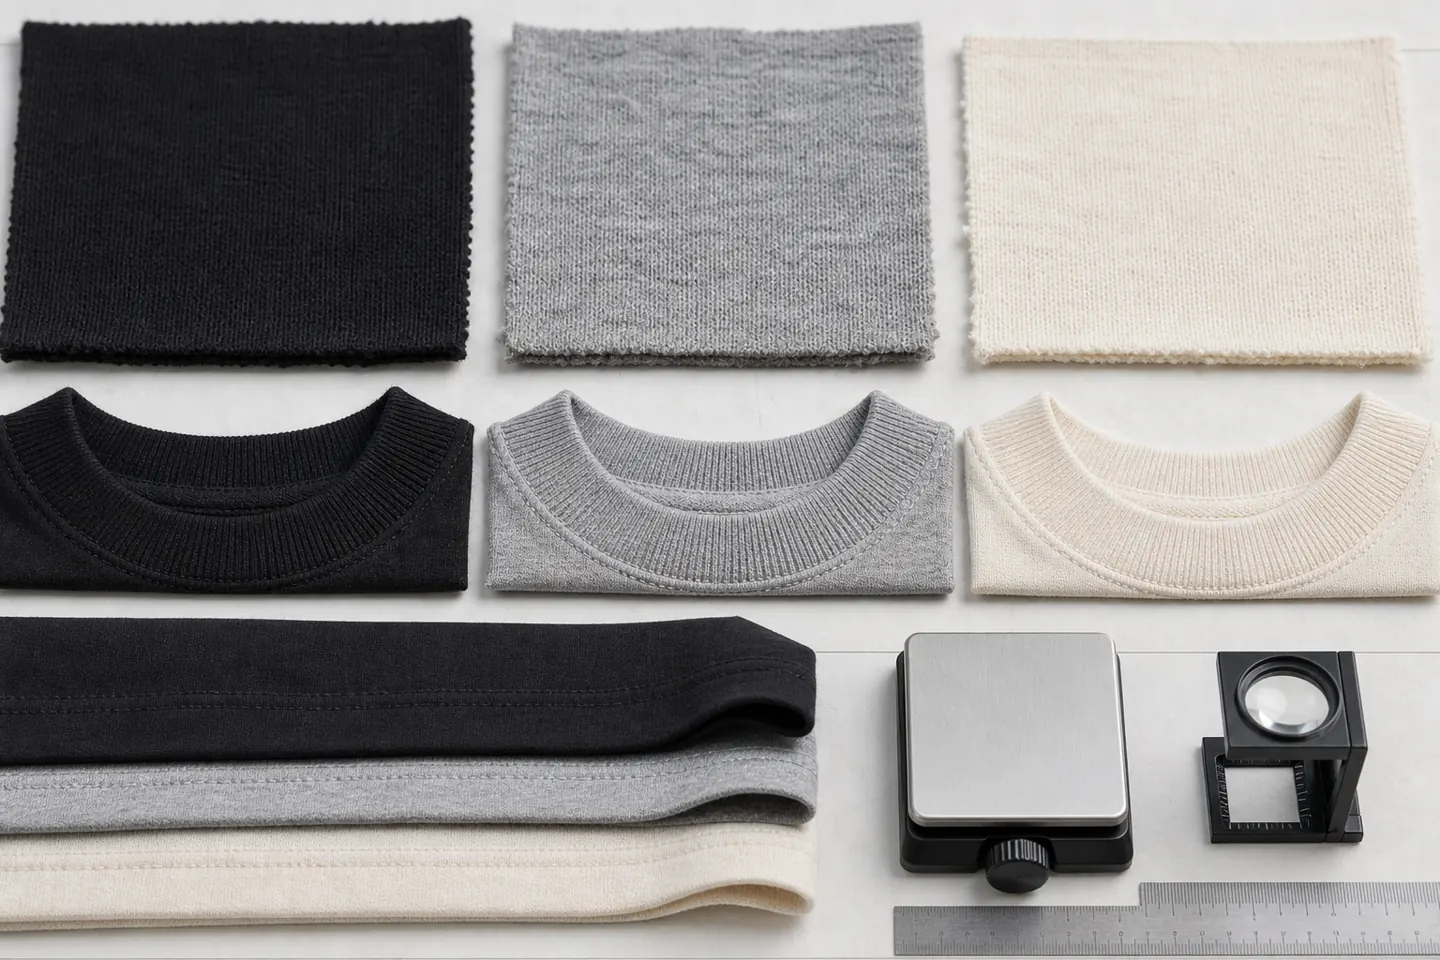
Keep the oversized T-shirt measurement guide beside the physical sample during every review so visual comments can be converted into measurable revisions.
Balance Shoulder Drop and Sleeve Length
Shoulder drop moves the armhole away from the natural shoulder. As shoulder width increases, the sleeve may need adjustment to keep the total reach and cuff position intentional. Specifying only the sleeve seam length can therefore be misleading.
Check the complete shoulder-to-cuff line on the body. Make sure the dropped seam does not create excessive fabric under the arm or pull the neckline. Sleeve width and opening should support the body volume instead of looking like they came from a standard fitted tee.
Choose Length for the Intended Styling
Longline, standard oversized and boxy-cropped tees can have similar chest widths but very different length-to-width ratios. Decide how the garment should sit with trousers, shorts and outerwear. Confirm whether the hem should cover the waistband, reach the hip or create a shorter square proportion.
Body length may also change after care. Approve the measurement standard at the defined condition and test the actual fabric and finish before bulk production.
Match the Collar to the Oversized Body
A wider, heavier body can visually overpower a narrow or weak neck rib. Specify neck width, front drop, rib height, stretch and recovery. Check that the opening permits dressing while returning to shape.
Inspect the collar after the agreed care test for rippling, edge curling, tunneling or seam twist. A dense streetwear neckline requires balanced rib and attachment, not just a heavier body fabric.
Create Practical Grade Rules
Grading changes the base pattern into a size range. Not every measurement must grow by the same amount. Chest, length, shoulder, sleeve and openings should maintain the intended silhouette and usable movement for different bodies.
Review representative small, middle and large sizes when practical. Measure each against the chart and compare proportions on suitable fit models. Also confirm artwork and label placement: a chest mark that looks centered on the base size may need a stable reference rule across the range.
The approved oversized T-shirt measurement guide should show which dimensions change by size and which placement rules stay fixed.
Use Tolerances and Measurement Records
Manufacturing needs agreed tolerances because sewn garments are not machined parts. Set tolerances by point of measurement and product risk. A small neckline difference may be more noticeable than the same difference at a wide hem.
Create a measurement record for each sample and production inspection. The record should show target, tolerance, actual result and pass or review status. Do not average away an important outlier.
Sample Approval Checklist
- Confirm style code, sample size, revision and fabric.
- Condition and lay the garment using the agreed method.
- Measure every required point.
- Fit on the intended body type and test movement.
- Photograph front, back, side and neckline.
- Check collar, seams, hem and decoration placement.
- Apply the agreed care test and remeasure.
- Issue one consolidated comment sheet.
- Approve the final chart and physical sample together.
Aimer Custom Lab offers pattern making, sampling and cut-and-sew production through its apparel capabilities. Its custom oversized T-shirt product page provides a relevant starting category; the final fit should still be developed from the buyer’s own measurements and approved sample.
Frequently Asked Questions
Is an oversized T-shirt just one size larger?
No. A designed oversized fit controls width, shoulder, sleeve and length separately. Simply sizing up a regular pattern may create excess length without the intended boxy proportion.
Which measurement creates a drop shoulder?
Shoulder width positions the seam, but the result also depends on armhole shape, sleeve angle, chest volume and fabric drape. Review the complete upper-body pattern.
Should every size use the same artwork dimensions?
That is a brand decision. One artwork size simplifies production, while controlled scaling may improve proportion across a wide range. Document the rule and approve representative samples.
Can measurements be approved without a fit model?
Measurements confirm specification, but a live fitting reveals movement and balance. Use both whenever fit is a defining product feature.
Define the Silhouette with Measurable Evidence
An oversized T-shirt measurement guide should make the brand’s fit repeatable. Define every point, approve the base size, test fabric behavior, review grading and keep the final measurement chart with the signed garment sample.
When supplier and buyer use the same oversized T-shirt measurement guide, fit decisions become easier to review, revise and reproduce.
Explore the current custom apparel range or send your fit brief and measurement chart. Include the target silhouette, size range, fabric direction, artwork and quantity so sampling and production options can be confirmed.