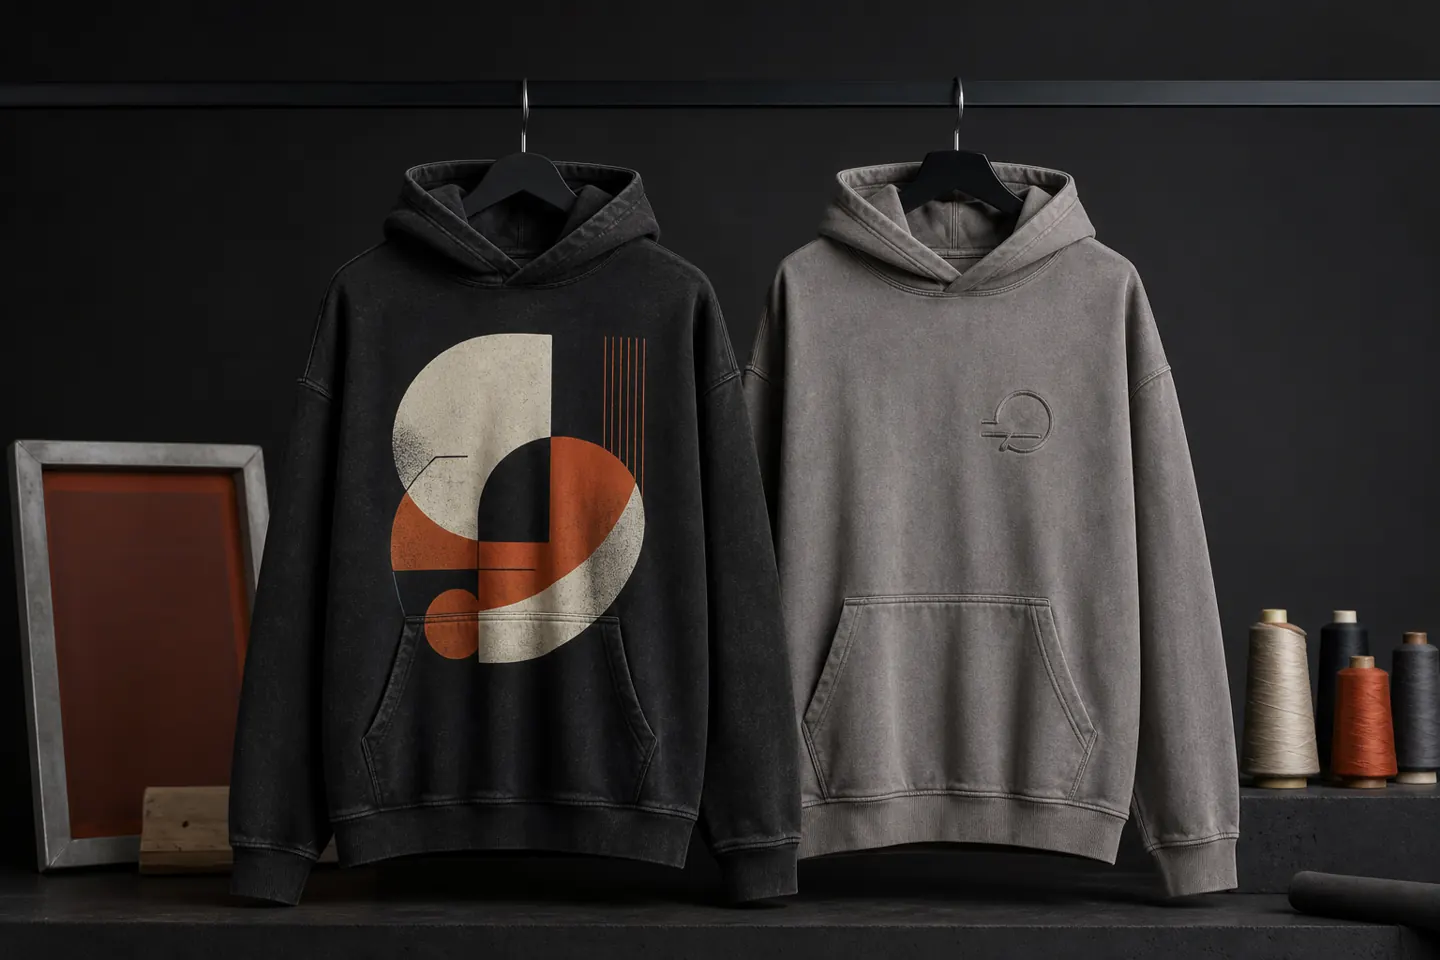
Streetwear Logo Placement Guide for Hoodies and Tees
A streetwear logo placement guide should connect visual identity with garment construction. Center-front, left-chest, back, sleeve, hood and external-label placements all behave differently when a hoodie or T-shirt is worn. The correct position must be measured from stable garment references and approved on the intended size and fabric.
Quick answer: choose one primary artwork location, add secondary marks only when they support the design hierarchy, and create a placement sheet showing physical dimensions and reference points. Approve a printed strike-off or embroidery sew-out, then confirm the complete garment before bulk production.
Start the Streetwear Logo Placement Guide with a Branding Hierarchy
Streetwear can use bold graphics, minimal tonal marks or a combination of both. Before selecting locations, decide which element should attract attention first. A large back graphic may be the hero, while a small chest or sleeve mark confirms the brand. If every surface competes, the garment loses focus.
The placement system should remain recognizable across T-shirts, hoodies, jackets and future reorders, even when individual artwork changes between seasonal capsules.
A streetwear logo placement guide helps the design team decide which mark leads, which marks support it and which garment areas should remain clean.
Build a simple hierarchy:
- Primary artwork: the main visual statement
- Secondary mark: a supporting symbol or wordmark
- Product identity: neck label, size label and care label
- Retail information: hangtag, barcode and packaging
Common Placement Zones
| Placement | Visual role | Production checks |
|---|---|---|
| Center front | High-visibility hero artwork | Neckline, pocket, zipper and body center |
| Left or right chest | Compact identity mark | Shoulder balance, size grading and stitch density |
| Full back | Large narrative or graphic field | Hood coverage, yoke seam and panel drape |
| Sleeve | Secondary detail visible in motion | Sleeve rotation, seam clearance and reading direction |
| Hood | Subtle detail or rear-facing accent | Fold, drawcord, seam and wearing position |
| External label | Material branding cue | Comfort, edge finish and legal-label separation |
Current placement guides from Printify, Printful and Garment Printing organize designs around chest, back, sleeve and label zones. A factory-ready streetwear specification should go further by defining measurement references, size rules and approval evidence.
Use Stable Garment Reference Points
Do not position artwork by visual guess or an unscaled mockup. Give the physical artwork width and height, then state its horizontal and vertical relationship to stable points such as center front, high point shoulder, neckline seam, pocket edge, sleeve seam or cuff.
For a center-front graphic, confirm whether the measurement begins at the collar seam or the visible top of the artwork. For chest marks, define both distance from center and distance below the shoulder or neckline. The same rule must be understood by the designer, sample room and inspector.
Record those reference points directly in the streetwear logo placement guide so the same artwork can be positioned consistently during sampling and bulk production.
Plan Around Pockets, Zippers and Hoods
Hoodies contain obstacles that a flat T-shirt does not. A kangaroo pocket limits the lower front print area. A zipper divides artwork and can create registration challenges. A hood may cover an upper-back design while the garment is worn.
On a custom hoodie set, review the front panel, pocket, hood and sleeves before approving locations. On a zip hoodie or tracksuit, decide whether artwork should cross the zipper or remain on separate panels.
Match Artwork Scale to the Silhouette
Oversized garments provide more surface area, but that does not mean every design should grow proportionally. A compact chest mark can create deliberate contrast against a wide body. A large back graphic may need more width but should still respect the side seams, hood and hem.
Test placement on the body, not only on a flat table. Ask the model to move, sit and layer the garment. Check whether folds hide important detail and whether the artwork remains balanced from normal viewing distance.
Choose Decoration After Placement
Placement and technique influence each other. Screen printing works well for broad graphic areas but adds an ink layer. Embroidery creates a raised tactile mark but can stiffen lightweight fabric. Heat transfer, patches and labels introduce their own edges, pressure and attachment requirements.
| Artwork need | Method to evaluate | Sample evidence |
|---|---|---|
| Large flat-color graphic | Screen printing | Strike-off showing color, registration and hand feel |
| Small textured mark | Embroidery | Sew-out showing density, backing and puckering control |
| Detailed multicolor image | Suitable transfer or digital method | Application test on final fabric and color |
| Dimensional identity element | Patch or external label | Attachment, edge and comfort sample |
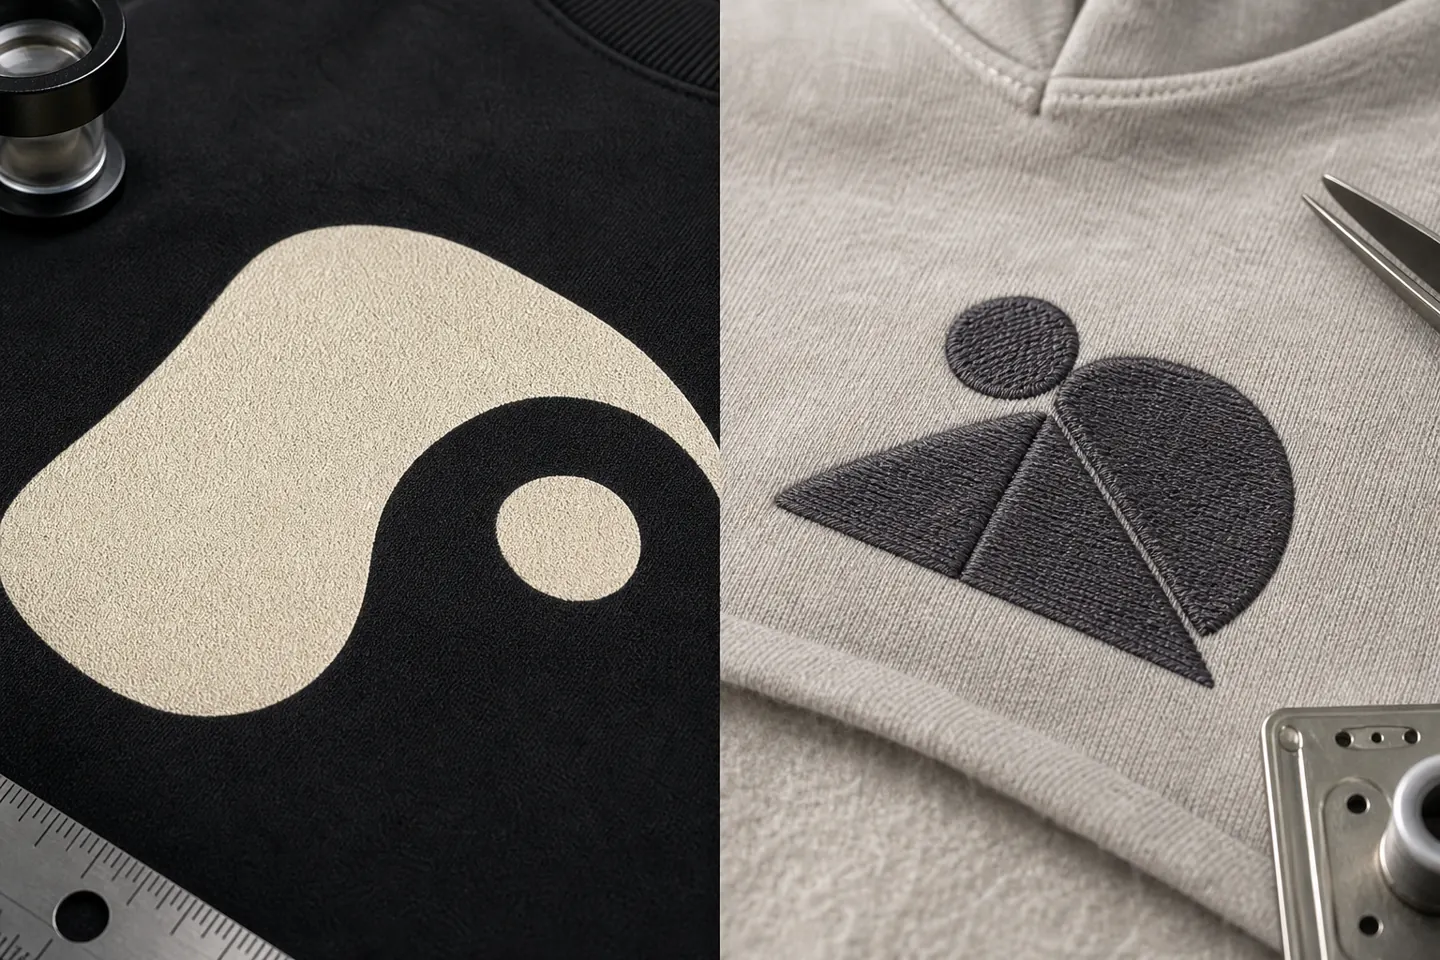
The streetwear logo placement guide should also identify which decoration method, backing and fabric area were approved for each mark.
Create a Placement Sheet
Every colorway and garment style should have a controlled placement page. Include front, back and relevant detail views. Show artwork file name, revision, dimensions, method, colors and reference measurements.
The placement sheet should contain:
- Style code, colorway, sample size and date
- Artwork file name and revision
- Physical width and height
- Horizontal and vertical reference points
- Decoration method and approved color standard
- Rules for other garment sizes
- Required strike-off, sew-out or application sample
Keep the editable artwork separate from the mockup. A presentation image can show intent, but production needs vector paths, color layers and method-specific detail.
Decide How Placement Changes by Size
One artwork size across all garments may be appropriate for a consistent brand mark. A large graphic may need controlled scaling across a wide size range. Whichever approach is chosen, write the rule instead of leaving it to the operator.
Check representative small, middle and large sizes. A fixed chest mark can appear too close to the armhole on a smaller garment, while a back graphic may feel undersized on the largest. Also confirm whether neckline, pocket and hood measurements change through grading.
Add the chosen size rule to the streetwear logo placement guide rather than leaving production to interpret scaling from a mockup.
Approve Physical Samples
Digital mockups cannot show ink opacity, thread sheen, fabric puckering or how a hood covers the upper back. Approve a strike-off or sew-out first, then a complete garment using the correct fabric, color, artwork dimensions and placement.
- Measure artwork width, height and position.
- Compare color and texture with the approved reference.
- Inspect registration, edges, stitches and backing.
- Check fabric distortion around the decoration.
- Review the garment while worn and moving.
- Apply the agreed care test before final sign-off.
Aimer Custom Lab lists screen printing, heat transfer, embroidery, patches and labels among its custom apparel capabilities. Send the garment specification and actual artwork when requesting a recommendation because the appropriate method depends on size, fabric, location and order requirements.
Frequently Asked Questions
Where should a small logo go on a hoodie?
Left or right chest, sleeve and external-label positions are common, but the correct location depends on the garment pattern and branding hierarchy. Define the position with measurements rather than a general label.
How do I place a back graphic below a hood?
Fit the hoodie on a body and observe the hood in its normal resting position. Measure the visible start point from a stable seam and confirm the graphic is not unintentionally hidden.
Should artwork placement change on oversized garments?
It may. Wider shoulders, greater chest width and different length can change visual balance. Test the base size and representative graded sizes before deciding.
Is embroidery best for every small logo?
No. Fine detail, lightweight fabric, wearer comfort and desired surface character may favor another method. Approve a sew-out on the actual material before production.
Make Placement Repeatable
A strong streetwear logo placement guide turns creative direction into measurements and approval standards. Build a clear hierarchy, respect garment construction, define size rules and keep the signed sample with the final artwork specification.
When the streetwear logo placement guide and signed sample agree, the approved branding becomes far easier to reproduce across styles and sizes.
Explore Aimer Custom Lab’s custom streetwear products or send your garment and artwork brief. Include the product, fabric, artwork files, placement ideas, quantity and size range so sampling and decoration options can be confirmed.