Streetwear Print Size Grading Guide
Streetwear print size grading determines whether artwork should remain one physical size across the range or change by garment size group. It also controls how placement references move as bodies, shoulders, pockets and sleeves become larger. Without a written rule, a print may look balanced on the approved medium sample but too dominant on XS and too small on extended sizes.
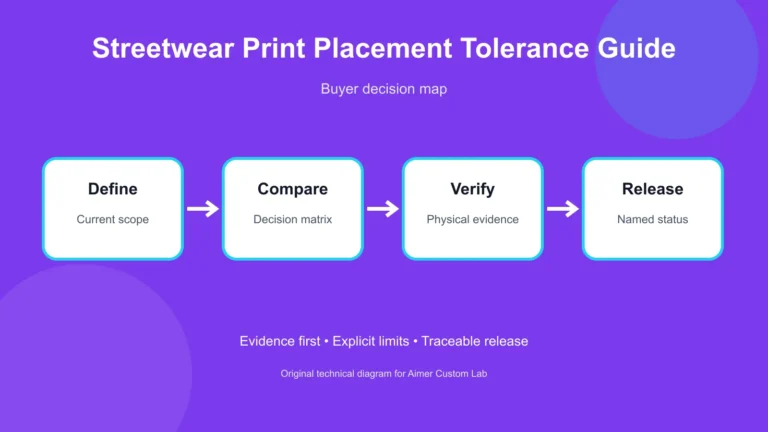
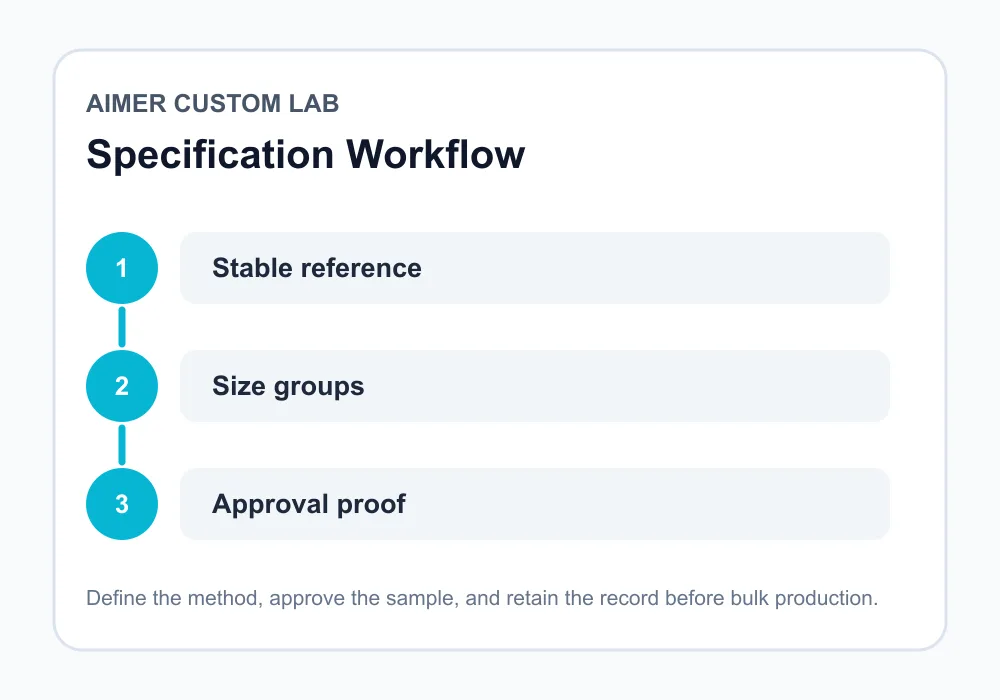
Quick Answer: Build streetwear print size grading around the garment pattern, artwork intent and production method. Choose one-size artwork or defined size groups, measure from stable sewn references, confirm the smallest printable garment, approve physical proofs on representative sizes, and record artwork files, placement tolerances and exceptions before screens or transfers enter bulk production.
What is streetwear print size grading?
Streetwear print size grading is the rule that connects artwork dimensions and position to a graded garment size range. It does not always mean enlarging every graphic. Many screen-print programs use one screen size across several garments for production efficiency. Other designs need two or more artwork groups to protect proportion or fit within the printable area of smaller sizes.
Placement grading is related but separate. The artwork may stay the same size while its distance from the neckline, center line, pocket or sleeve seam changes. The tech pack should therefore specify both artwork dimensions and the measurement references used to locate it.
Should streetwear print size grading use one artwork size?
One print size can be appropriate when the artwork fits the smallest garment and the brand accepts the visual proportion across the range. It reduces screen, film, setup and approval complexity. However, the same graphic occupies a different percentage of a small and large body, so the design direction must be intentional.
Size groups are useful when a large graphic cannot fit the smallest platen or panel, when the visual ratio changes too much, or when a pocket, seam or cropped body creates different available areas. Each group adds production files and control points, so it should solve a real design problem rather than follow an automatic formula.
| Strategy | Best use | Production impact | Approval need |
|---|---|---|---|
| One artwork size | Simple range with adequate printable area | Fewer screens/files | Check smallest and largest visual proportion |
| Two artwork groups | Broad size range or extended sizes | Extra screen or transfer set | Approve boundary sizes for both groups |
| Multiple graded artworks | Highly proportional or panel-filling design | Highest setup and file-control burden | Proof every artwork version |
| Same artwork, graded placement | Stable graphic with changing garment landmarks | Requires placement templates | Measure representative size set |
Which reference points support streetwear print size grading?
Use references that operators can locate consistently on the finished or cut garment. Center front and center back are generally clearer than an arbitrary distance from a side edge. A neckline reference may work for a center print, but collar shape and rib width must be consistent. Left-chest artwork may need a horizontal reference from center front and a vertical reference from the high-point shoulder or neckline seam.
Do not measure from a raw cut edge when decoration occurs after sewing unless the production operation uses an approved cut-panel jig. Pockets, dropped shoulders and curved hems may shift during sewing, so the sequence of printing and assembly matters. The existing streetwear logo placement guide provides a foundation for choosing locations; this article focuses specifically on how those locations behave across sizes.
Placement callout checklist
- Artwork name and version.
- Finished print width and height.
- Whether measurements include transparent or empty artwork space.
- Horizontal and vertical garment reference points.
- Size group and applicable colorways.
- Print method, ink or transfer system and number of colors.
- Production sequence: cut-panel or finished-garment decoration.
- Approved tolerance and how it will be measured.
- Smallest garment or platen constraint.
- Approval proof identifier and retained file.
How do print methods affect streetwear print size grading?
Screen printing usually requires a separate screen set when the physical artwork size changes. Multi-color art multiplies that setup. Keeping one artwork size may be efficient, but the screen, platen and garment must still accommodate it. ScreenPrinting.com recommends testing the smallest garment before committing to a placement and notes that platen and screen limits affect feasible artwork size.
Heat transfers or DTF files can be produced in multiple sizes more easily, but file naming, transfer sorting and operator selection become important. Embroidery has additional limits related to hoop access, stitch density, fabric support and distortion. A visual mockup is not enough for any method; approve the real decoration on the production-intent fabric.
How should streetwear print size grading group a size range?
Begin with the actual garment measurement chart and printable panel widths. Identify the smallest size, base sample, largest standard size and any extended sizes. Place the proposed artwork at scale on the pattern or graded technical flat, then decide where the visual difference becomes unacceptable or the print area becomes impossible.
A group boundary might occur because a chest graphic needs more room, a sleeve circumference changes, or an extended-size body requires a larger design to maintain intent. The boundary is a brand decision, not an industry constant. Record the exact sizes in each group, such as XS–M and L–3XL, and confirm whether colorways use identical files.
What should streetwear print size grading approve before bulk?
- Scaled artwork proof: Confirm dimensions, color separations and orientation.
- Smallest-size test: Verify the design fits the garment, platen or print panel without seam interference.
- Base-size sample: Review the intended visual balance on the primary fit sample.
- Largest representative size: Confirm the artwork does not appear unintentionally small or shift relative to the body.
- Method sample: Inspect ink coverage, hand, curing, transfer adhesion or embroidery distortion.
- Placement measurement: Record actual distances from the approved landmarks.
- Colorway check: Confirm contrast, dye migration risk and underbase decisions on every material family.
- Production file release: Lock filenames and remove obsolete versions from the bulk package.
Connect the approval with the streetwear sampling process. A digital mockup can approve concept direction, while the decorated sample proves scale, placement and method behavior.
How should placement tolerance be written?
A tolerance must state the reference and measurement method. “Centered” alone does not explain how off-center placement is judged, especially with asymmetric art. Define whether the artwork’s geometric bounding box, visual center or a named internal element is aligned to garment center.
Set a realistic acceptance rule with the factory after reviewing machinery, fabric handling and design sensitivity. A small left-chest logo may make a slight shift more visible than a large distressed back print. Do not invent one universal tolerance for all decoration methods. Record actual sample capability and the buyer’s visual requirement.
What production controls prevent mixed artwork sizes?
- Use filenames that include style, colorway, position, size group and revision.
- Print or package transfers by clearly labeled size group.
- Post the approved placement sheet at the decoration station.
- Keep obsolete artwork physically and digitally separated.
- Approve the first piece from every size group and colorway.
- Use a garment or platen template linked to the correct reference points.
- Audit mixed-size bundles before they leave decoration.
- Record rework separately so heat or ink is not applied twice without review.
How do you evaluate the finished result?
Measure placement on a flat, relaxed garment, then assess it worn because oversized shoulders and chest volume change perception. Check whether artwork crosses folds, pocket openings, side seams or high-strain zones. For a size group, line up representative garments using the same center reference and photograph them together for the approval record.
After decoration, complete the relevant cure, adhesion and laundering checks. Size grading does not compensate for a weak print method. If the design covers a large area, review fabric drape and breathability because heavy ink or transfer film can change the hand of an oversized T-shirt or hoodie.
Frequently asked questions
Must artwork be enlarged for every larger size?
No. Many programs use one artwork size. Change it only when visual intent, printable area or product construction justifies a separate size group.
What is the difference between print size and placement grading?
Print size grading changes artwork dimensions. Placement grading changes its measured location. A program may use either or both.
Why should the smallest garment be tested first?
It usually has the least printable area and may expose platen, seam or artwork-fit limits before screens or transfers are produced for bulk.
Can one tolerance apply to screen print, DTF and embroidery?
Not automatically. Equipment, fabric handling and design sensitivity differ. Agree the rule for the specific method and garment.
Should artwork be measured from the collar edge?
It can be, provided the collar reference is stable and clearly shown. Center line, high-point shoulder or seam references may be more repeatable for some designs.
How many sizes should receive a physical proof?
At minimum, review the sizes that represent each artwork group and the range extremes that could change fit or available print area. The exact plan depends on the size range and design risk.
Conclusion: grade the decision, not just the graphic
Effective streetwear print size grading balances design proportion with production reality. Define artwork groups, stable placement references, method constraints and approval evidence before bulk decoration. Send Aimer Custom Lab your vector artwork, garment measurement chart, size range, colorways and target placements so the team can confirm sampling, decoration and file-control requirements for quotation.