Streetwear Shrinkage Test: Brand Buyer Guide
A streetwear shrinkage test turns a vague concern about fit into a measurable approval rule. For oversized T-shirts, heavyweight hoodies, washed jackets, and private-label sets, even a small dimensional change can alter the intended silhouette, sleeve balance, print placement, or size grading. Buyers should therefore define the care cycle, measurement points, sample conditioning, and tolerance before bulk production—not after customer complaints arrive.
Quick answer: build a streetwear shrinkage test around a documented pre-wash measurement, a specified laundering and drying procedure, post-cycle conditioning, and percentage change by garment point. Use the same method on development fabric, the approved sample, and representative bulk garments. A laboratory standard explains the procedure; your brand must still define the acceptance limit that protects its fit.
Why a Streetwear Shrinkage Test Matters
Streetwear fit is often deliberately proportioned. A dropped shoulder depends on shoulder width and sleeve attachment; a boxy tee depends on body width relative to length; a hoodie depends on body, sleeve, rib, and hood balance. If length contracts more than width, the silhouette can become short and wide. If rib contracts differently from the shell, cuffs and hems may pull or distort. A streetwear shrinkage test protects the design intent as well as the size chart.
Dimensional change may come from fiber relaxation, fabric construction, finishing, garment washing, drying heat, or tension introduced during cutting and sewing. The result can vary by color, lot, panel direction, print coverage, and trim combination. That is why one informal home wash is not a reliable approval system. A repeatable method records what happened and makes supplier discussions more objective.
Choose a Streetwear Shrinkage Test Method
AATCC TM135 describes dimensional-change testing of fabrics and garments after home laundering. ISO 5077 covers determination of dimensional change, while ISO 6330 supplies domestic washing and drying procedures. These references create procedural consistency, but they do not give every streetwear brand one universal pass grade. Buyers must connect the method to the care label, target market, fabric, wash finish, and intended customer behavior.
Match the procedure to the product
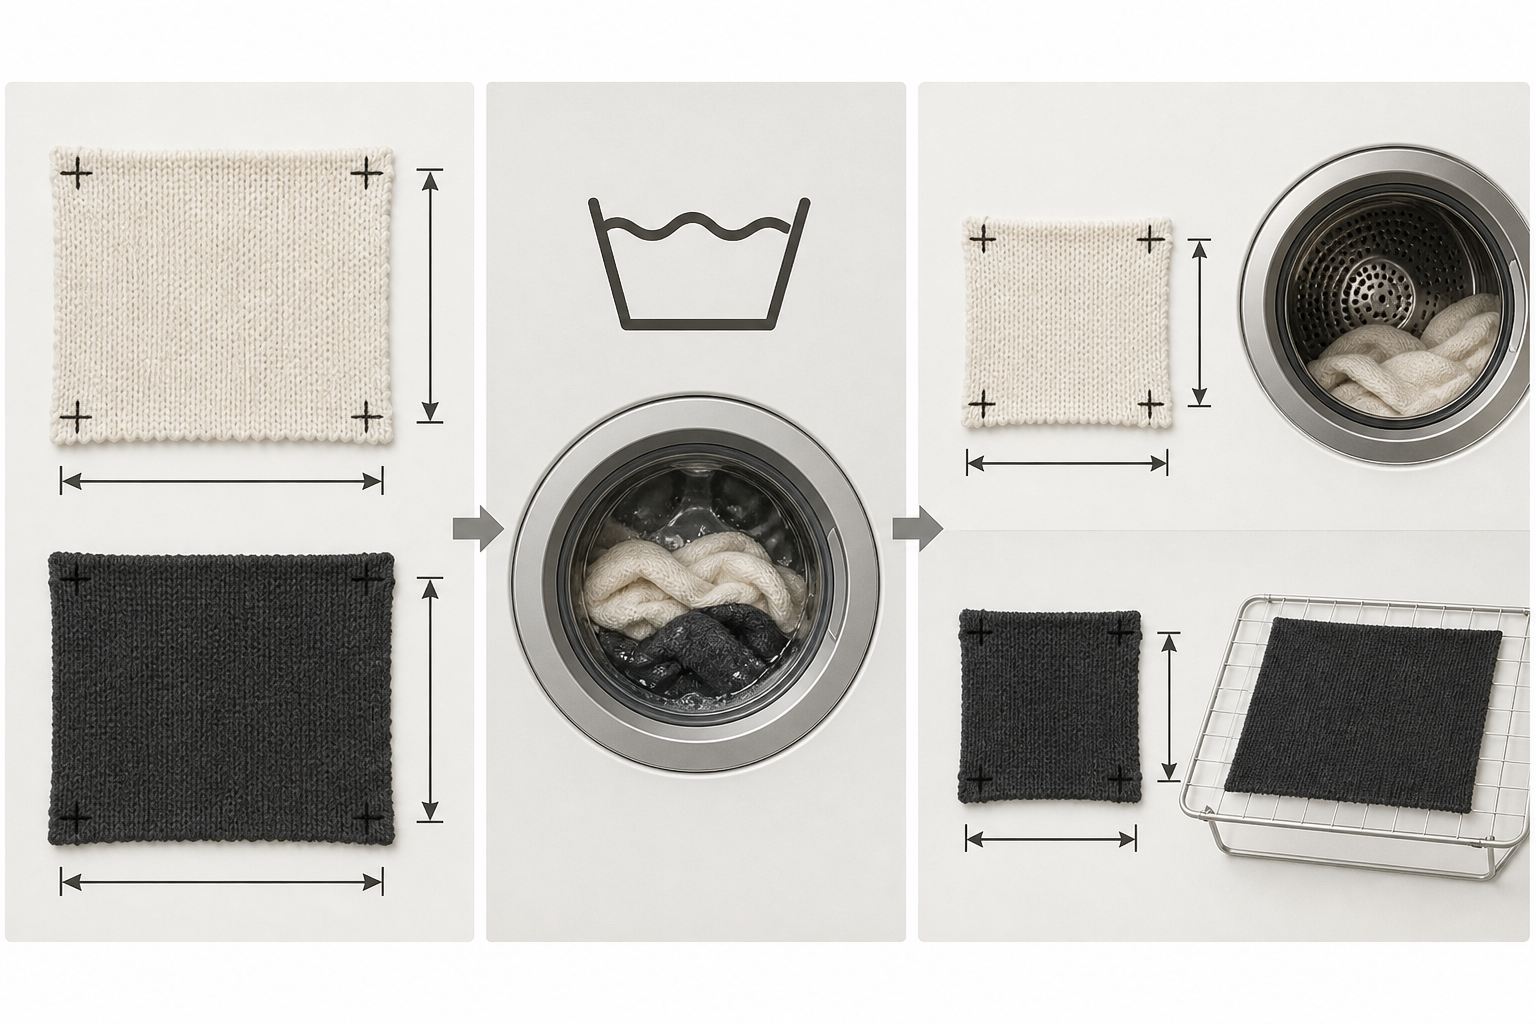
A cold-wash hang-dry tee should not be approved only with a high-heat tumble cycle unless that harsher condition is intentionally part of risk testing. Conversely, a product sold with machine-dry instructions should not be tested only by flat drying. Record water temperature, machine program, detergent, load, drying method, number of cycles, and conditioning time. When multiple care routes are possible, designate one as the approval method and others as development checks.
Condition specimens before measuring
Textiles respond to moisture and temperature. Let specimens reach the agreed conditioning state before the first measurement and again after laundering. Measure on a flat, relaxed surface without stretching the garment. Use consistent tools and trained operators. Photographs should show the measurement landmarks and any twisting, puckering, spirality, or trim distortion that a percentage alone may miss.
Streetwear Shrinkage Test Comparison Table
| Decision point | Recommended record | Buyer risk controlled |
|---|---|---|
| Reference method | Standard name, edition, and lab procedure | Different suppliers using different wash routines |
| Care cycle | Temperature, program, detergent, load, drying | Results that cannot support the care label |
| Measurement points | Body length, chest, shoulder, sleeve, rib, hood as relevant | Hidden proportion changes |
| Cycles | Initial cycle and any repeated-cycle check | Approval based only on the first wash |
| Acceptance rule | Brand-defined limit by point and size | Subjective pass or fail decisions |
| Visual review | Twist, puckering, seam roping, print and trim condition | Dimensional numbers masking appearance defects |
How to Measure a Streetwear Shrinkage Test
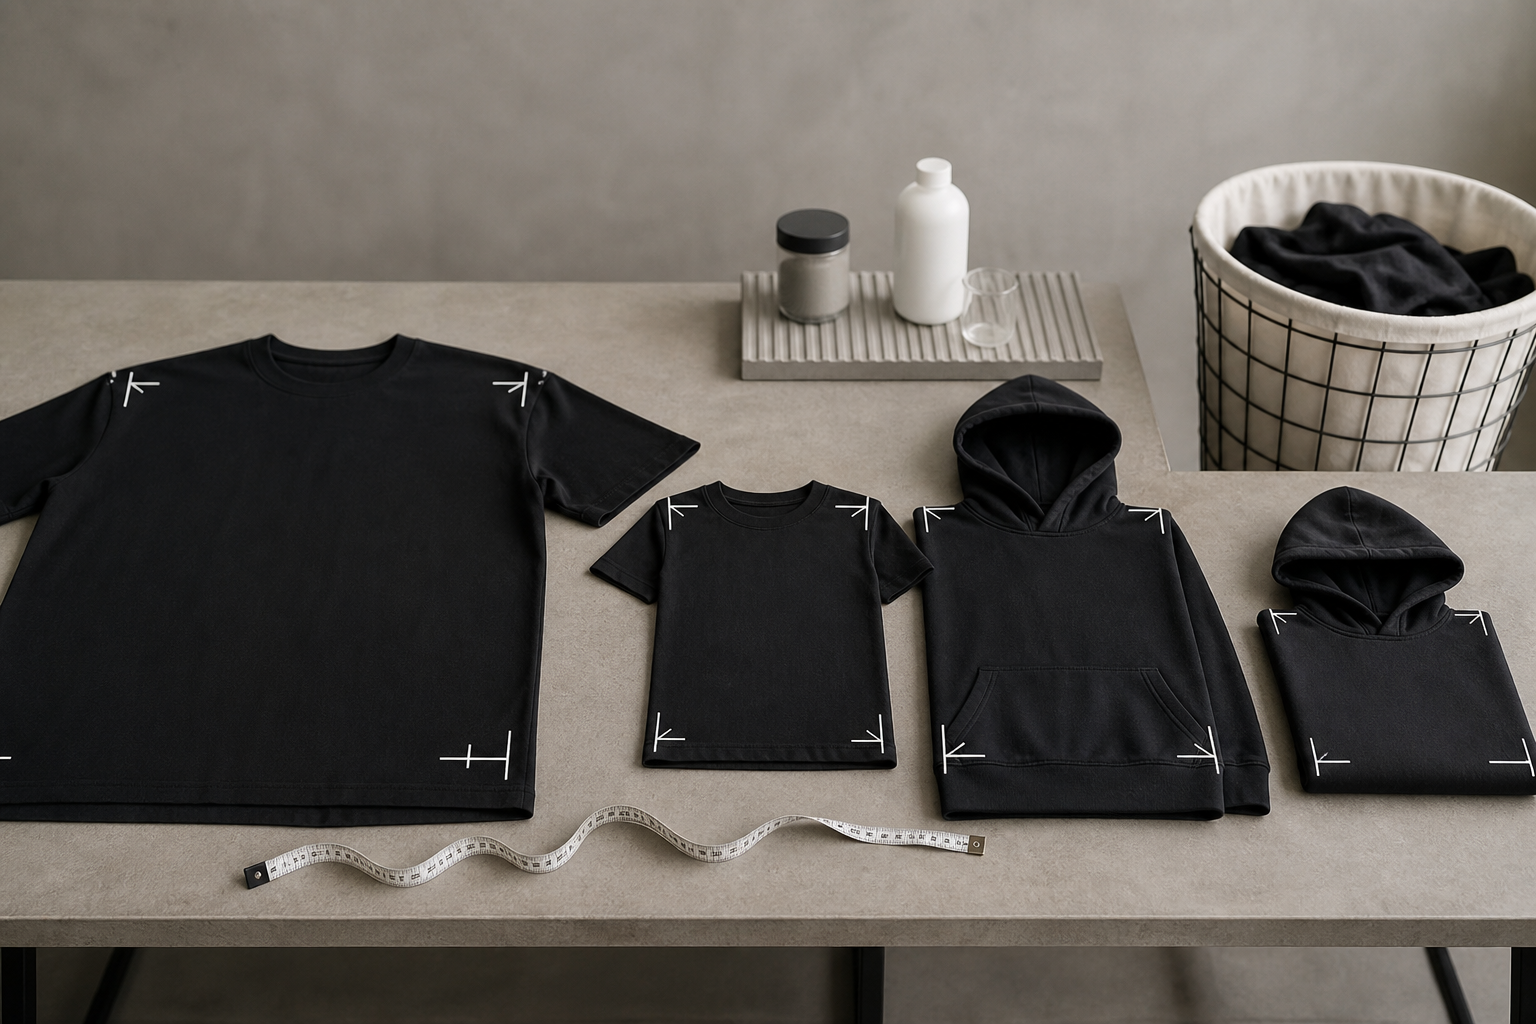
Start with a measurement diagram in the technical pack. Mark exact landmarks so the same path is used after washing. Common points include high-point shoulder to hem, half chest, shoulder seam to seam, sleeve length, cuff opening, bottom opening, hood height, and hood width. For pants or tracksuits, include waist, hip, inseam, outseam, thigh, and leg opening. Measure enough pieces to reveal variation rather than relying on a single convenient sample.
The usual calculation is percentage dimensional change: post-treatment dimension minus original dimension, divided by the original dimension, multiplied by 100. A negative result generally indicates shrinkage and a positive result growth. Keep both the raw dimensions and calculated percentage. Rounding too early can hide small differences, so apply the agreed rounding rule only after calculation.
Example without inventing a pass limit
If a sample body length changes from its recorded original value to a shorter post-wash value, calculate the percentage and compare it with the brand’s approved tolerance. Do not borrow an arbitrary limit from another product. A heavyweight cotton hoodie, a blended fleece set, and a washed oversized tee can require different engineering decisions. Confirm limits during development and write them into the purchase specification.
Build the Streetwear Shrinkage Test Into Sampling
Use the streetwear clothing sampling process to check dimensional stability before style details are locked. At proto stage, testing can reveal whether fabric finishing or pattern allowance needs adjustment. At size-set stage, it checks whether shrinkage disrupts grading. A pre-production sample confirms the final fabric, color, print, trims, and sewing combination. Bulk testing then checks that production remains consistent with the approved reference.
For custom development, share the intended care instruction, target fit, measurement chart, and critical points through the custom manufacturing capabilities discussion. If the supplier proposes compensating the pattern, ask how the allowance was derived and whether it is consistent across sizes. Pattern compensation can help, but it should not hide unstable fabric or an uncontrolled finishing process.
A streetwear shrinkage test should be reviewed alongside garment appearance, because a stable measurement can still hide seam twisting or trim distortion. Keep the streetwear shrinkage test report with the approved sample so future lots use the same baseline.
Buyer Checklist Before Approval
- Identify the exact fabric composition, construction, weight, finish, and color lot.
- State the test standard or fully documented in-house procedure.
- Match washing and drying conditions to the intended care label.
- Condition every specimen before both measurement stages.
- Use a technical drawing with fixed measurement landmarks.
- Record individual results, averages, range, and visual observations.
- Check shell, rib, lining, print, embroidery, and labels together.
- Compare proto, pre-production, and bulk results to one approved baseline.
- Define who may approve a deviation and how it is documented.
- Retain tested garments and photos with the inspection record.
Common Problems and Corrective Actions
Length loss changes the oversized silhouette
Review fabric relaxation, compacting, cutting direction, and drying severity. Recheck the pattern only after material stability is understood. Increasing length blindly may create an overlong unwashed garment while failing to solve lot variation.
Rib and shell shrink at different rates
Test the rib as a component and as part of the sewn garment. Compare fiber blend, knit structure, finishing, and stretch recovery. Differential change can create a wavy hem, tight cuff, or distorted neckline.
Garment wash results vary by color
Pigment dye, enzyme wash, acid wash, and other fashion finishes may create color-specific behavior. Approve each relevant color or finish rather than assuming one result represents the range. Record batch parameters and test after the final commercial finish.
Frequently Asked Questions
How many wash cycles should a buyer specify?
Choose a cycle count that supports the product’s care claim and risk profile. One cycle can show initial relaxation; repeated cycles can reveal continuing change. State the approval cycle clearly so quotations and reports are comparable.
Should fabric or finished garments be tested?
Both can add value. Fabric testing supports early material selection, while garment testing captures seams, trims, printing, rib, lining, and construction. Final approval should reflect the product sold to the customer.
Can a supplier guarantee zero shrinkage?
Absolute zero is not a realistic universal claim for all textiles and care conditions. Ask for verified results under a named procedure and agree a product-specific tolerance. Avoid marketing or purchasing decisions based on vague “pre-shrunk” wording alone.
Does GSM control shrinkage?
GSM describes mass per unit area, not dimensional stability by itself. Fiber, yarn, knit density, finishing, moisture, and laundering conditions also matter. Use GSM and shrinkage as separate but connected controls.
Conclusion: Turn Fit Risk Into a Written Rule
A reliable streetwear shrinkage test begins with the intended customer care routine and ends with traceable measurements, photographs, and a brand-approved tolerance. The most useful report is not simply “passed.” It shows what was tested, how it was washed and dried, where it was measured, and how the garment changed. To align testing with your fabric, fit, and private-label program, review the product range and contact the team with your care label, tech pack, and target measurement tolerances.