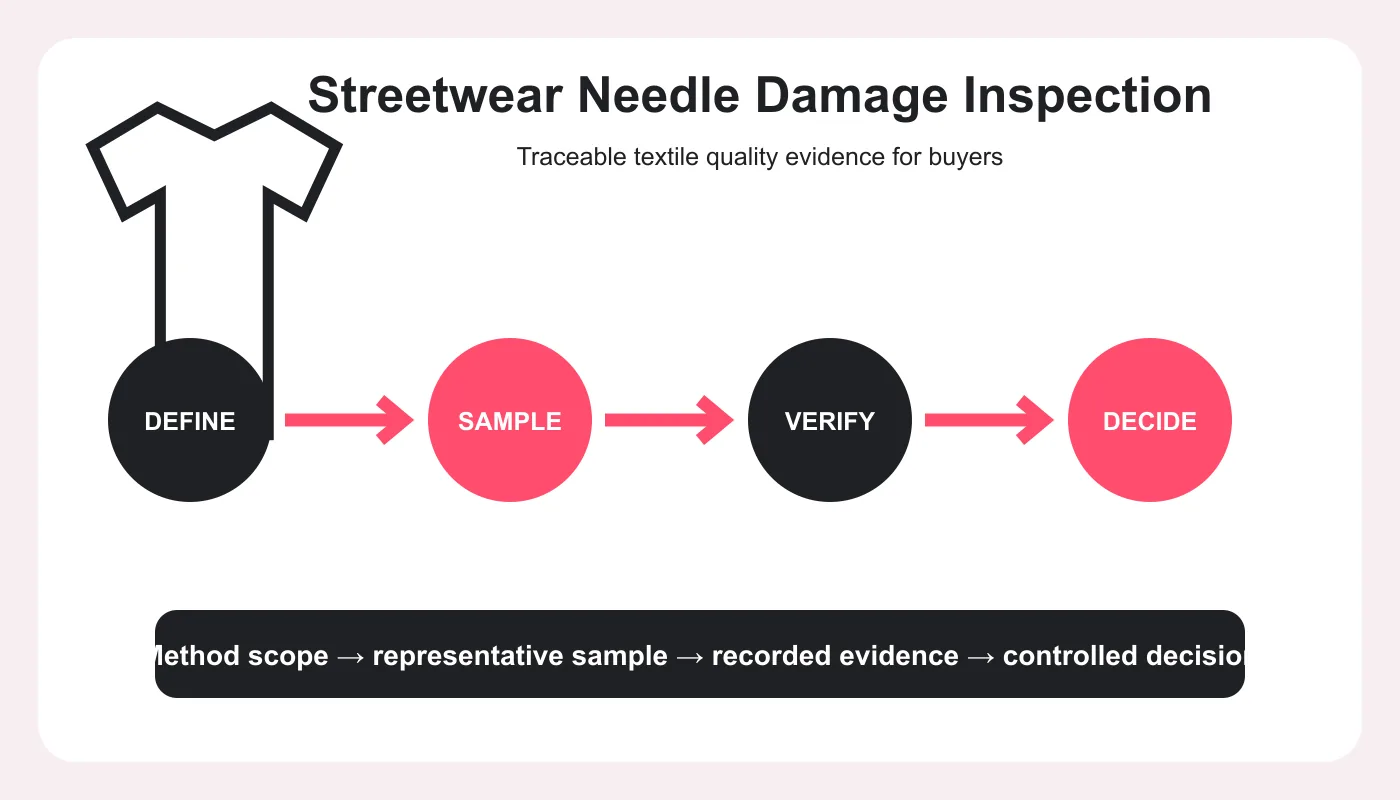
Streetwear Needle Damage Inspection Guide
Quick Answer — streetwear needle damage inspection: Approve needle system, size and point by fabric and operation, using production-intent layers and sewing speed. Inspect first pieces on face and reverse, extend seam zones where appropriate, log needle changes and recheck garments after the agreed care cycle. Separate true needle cuts from fabric faults and damage caused by plates, feet, feeders or handling.
Streetwear needle damage inspection looks for cut yarns, holes, runs, glazing and weakened fibres created during sewing or embroidery. Heavyweight jersey, fleece, rib, coated woven shells and multilayer pocket seams need different needle choices. Damage can occur at the needle point, but burrs, machine contact surfaces, deflection, heat and excessive stitch density can also be responsible.
This buyer guide connects the result with the streetwear product range and private-label manufacturing capabilities. It does not invent a universal pass value, certification, production capacity, minimum order or lead time. The brand, supplier and appointed laboratory should agree order-specific methods and acceptance rules before testing.
What is streetwear needle damage inspection?
Needle damage is physical textile damage produced during a stitch-forming or related machine operation.
Needle damage is physical textile damage produced during a stitch-forming or related machine operation. Groz-Beckert identifies needle thickness, unsuitable point style and damaged points as common causes in knitted embroidery; Coats also recommends checking round points, machine surfaces and needle deflection. The diagnosis must examine the whole material–needle–thread–machine system.
The applicable authority for this article is Groz-Beckert troubleshooting guide. A standard describes a controlled method; it does not automatically create a commercial tolerance for every product. Record the exact edition, procedure, specimen state and any deviation so another reviewer can interpret the result.
Why does this issue matter for buyers?
The issue can alter appearance, consistency, durability or the validity of the approved sample.
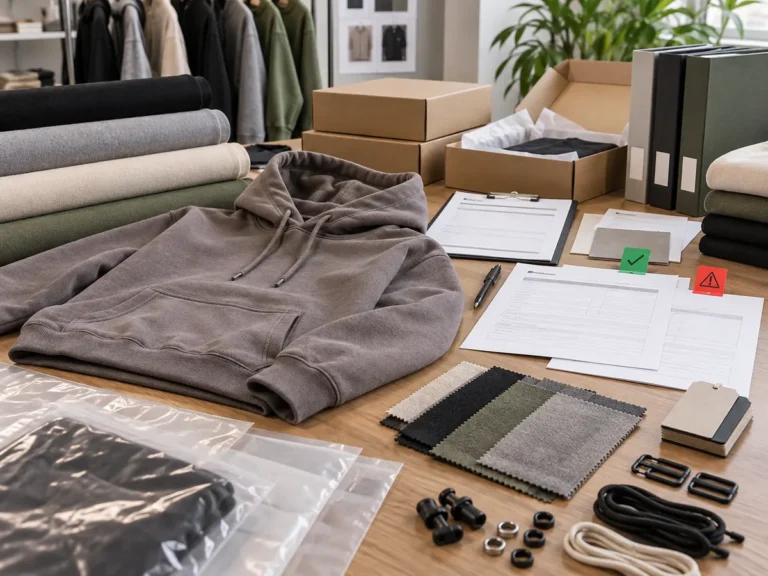
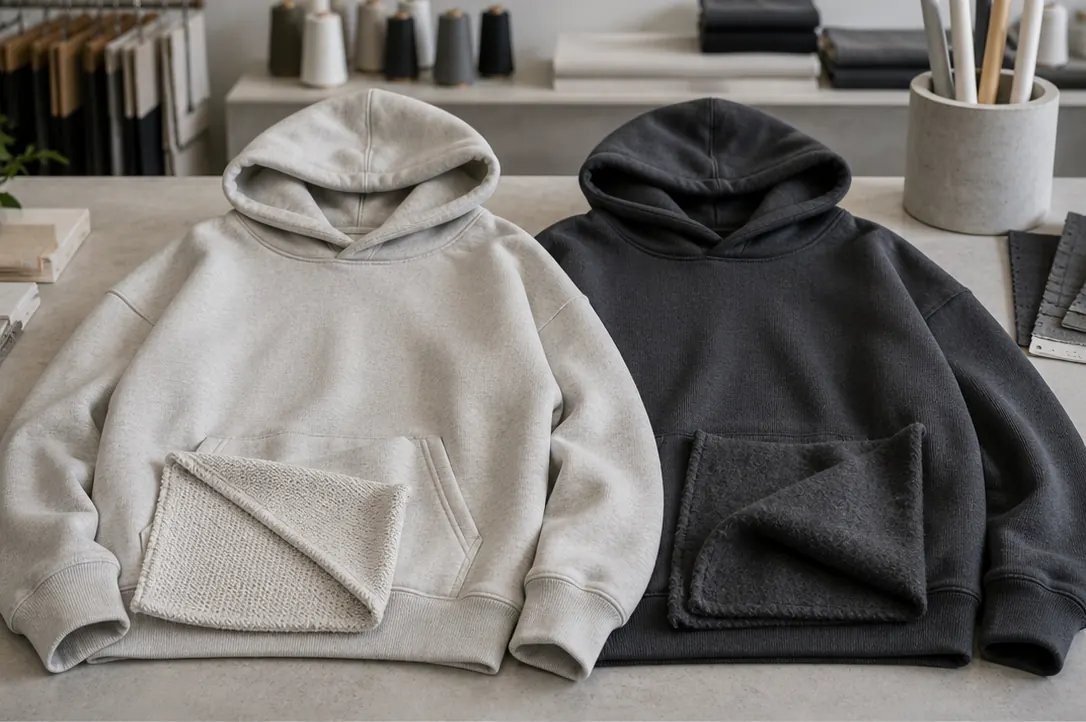
A heavyweight T-shirt can combine dense cotton jersey, rib and neck tape; a hoodie adds fleece, pocket corners, hood intersections and eyelet reinforcement; a jacket can add coated shell, lining and zipper tape. One setup may sew a flat seam cleanly but damage a thick crossing. Enzyme washes, pigment finishes and heat can change surface friction or fibre strength before sewing.
Risk should be ranked by visibility, product function, material sensitivity, order size and cost of late correction. A buyer can then test the variables most likely to change instead of collecting generic reports that do not identify the style. Development evidence should be connected to the purchase order, approved bill of materials and sealed reference.
Which controls should be fixed before testing?
Freeze the sample identity, method, setup, reporting fields and decision owner before results are produced.
| Control | What to record | Buyer purpose |
|---|---|---|
| Material map | Shell, rib, fleece, lining, reinforcement | Shows different risks |
| Operation setup | Needle system, size, point, thread and speed | Creates repeatable trial |
| Inspection | Face, reverse, relaxed, extended and lit | Reveals cuts and runs |
| Machine check | Plate, foot, feeder, guards and alignment | Finds non-needle causes |
| Containment | Last good check, affected bundle and action | Limits bulk exposure |
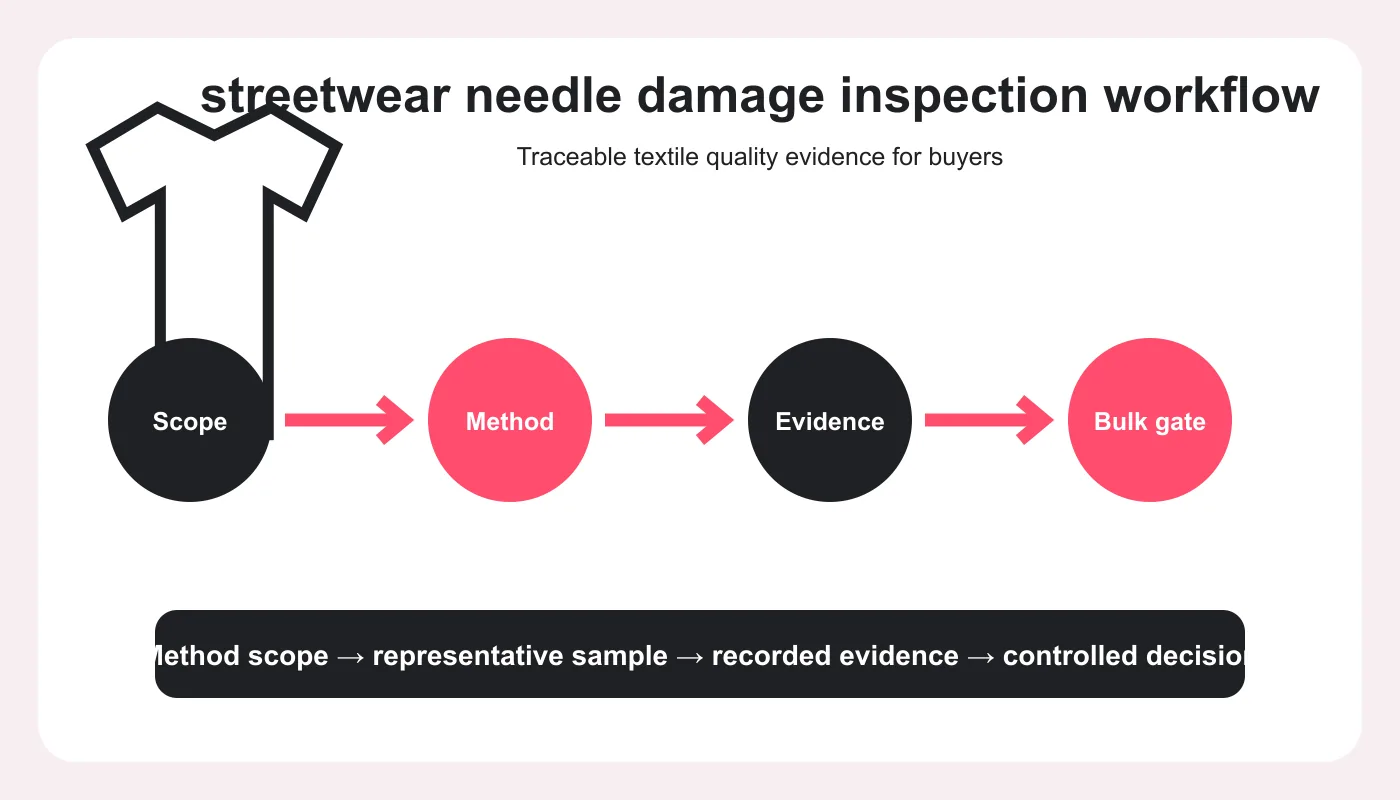
How should buyers run a streetwear needle damage inspection workflow?
Use staged gates from development through representative bulk confirmation.
1. Map each material and seam crossing
Start with the approved product brief and record the exact sample, revision and responsible reviewer. For this stage of the streetwear needle damage inspection workflow, use production-intent materials rather than a convenient substitute. Photograph the setup, retain individual observations, and link any correction to the next approval gate. This prevents an isolated laboratory or line result from losing its purchasing context.
2. Trial production machine settings
Start with the approved product brief and record the exact sample, revision and responsible reviewer. For this stage of the streetwear needle damage inspection workflow, use production-intent materials rather than a convenient substitute. Photograph the setup, retain individual observations, and link any correction to the next approval gate. This prevents an isolated laboratory or line result from losing its purchasing context.
3. Inspect first-off pieces under good light
Start with the approved product brief and record the exact sample, revision and responsible reviewer. For this stage of the streetwear needle damage inspection workflow, use production-intent materials rather than a convenient substitute. Photograph the setup, retain individual observations, and link any correction to the next approval gate. This prevents an isolated laboratory or line result from losing its purchasing context.
4. Stress only as defined for the fabric
Start with the approved product brief and record the exact sample, revision and responsible reviewer. For this stage of the streetwear needle damage inspection workflow, use production-intent materials rather than a convenient substitute. Photograph the setup, retain individual observations, and link any correction to the next approval gate. This prevents an isolated laboratory or line result from losing its purchasing context.
5. Monitor needles and contact surfaces
Start with the approved product brief and record the exact sample, revision and responsible reviewer. For this stage of the streetwear needle damage inspection workflow, use production-intent materials rather than a convenient substitute. Photograph the setup, retain individual observations, and link any correction to the next approval gate. This prevents an isolated laboratory or line result from losing its purchasing context.
6. Confirm care-tested garments
Start with the approved product brief and record the exact sample, revision and responsible reviewer. For this stage of the streetwear needle damage inspection workflow, use production-intent materials rather than a convenient substitute. Photograph the setup, retain individual observations, and link any correction to the next approval gate. This prevents an isolated laboratory or line result from losing its purchasing context.
How should results be interpreted without overclaiming?
Interpret the result only within the method, specimen and product question that were documented.
Keep individual readings or observations, not only a rounded average or a coloured “pass” cell. Review location patterns, replicate spread, test uncertainty where supplied and deviations from the approved procedure. A borderline value should trigger clarification or repeat testing under the same conditions, not a changed method selected after the result is known.
Laboratory evidence and garment approval answer different questions. A controlled method supports comparison, while the finished streetwear garment confirms construction, fit, appearance and intended care. Neither should silently replace the other. If a marketing claim is planned, the responsible brand must ensure that its wording matches the actual evidence and destination-market requirements.
Which mistakes can make the evidence misleading?
| Risk | Why it matters | Control |
|---|---|---|
| Oversize needle | Large penetration can cut or burst yarns | Use the smallest stable approved size |
| Blunt or burred point | It can drag and rupture fibres | Use a defined change rule |
| Needle heat | High speed and friction may glaze synthetics | Review speed, lubrication and setup |
| Dense embroidery | High penetration count stresses one zone | Balance needle, backing and density |
streetwear needle damage inspection buyer checklist
- Identify fabric, finish, lot and operation.
- Record needle system, size, point and thread.
- Check machine contact surfaces for burrs.
- Inspect first pieces inside and outside.
- Review thick crossings and pocket corners.
- Track needle breaks and scheduled changes.
- Contain pieces since the last verified check.
- Repeat inspection after required care testing.
How should a corrective action be documented?
State the observation, affected lot, requirement, suspected cause, containment action, process change and verification gate.
A vague request to “improve quality” is difficult to audit. Ask the supplier to identify what changed and how recurrence will be prevented. Keep the original evidence, root-cause review, corrected sample and retest result under one revision. If the material, component supplier, colour, finish, equipment route or construction changes, reopen the relevant approval rather than assuming the old report still applies.
Bulk sampling should be proportional to risk. Use the buyer-approved inspection level or laboratory plan, map samples to lots and locations, and preserve traceability through cutting and sewing. If the evidence cannot be linked to the actual production lot, it should not be used as proof for that order.
What belongs in the final approval record?
A complete record makes the decision reproducible. Keep the product code, colour, material or component lot, supplier reference, sample stage, test method, report number, date and named reviewer together. Add photographs made under controlled conditions, the sealed reference and the exact disposition. Record whether the evidence supports development, pre-production or bulk release; these gates are related but not interchangeable.
When several sites or suppliers are involved, use consistent terminology and revision numbers. The same focus keyword should describe the same technical entity throughout the brief, report and corrective action. That clarity helps a laboratory answer the intended question, helps a factory isolate affected work and helps a later buyer understand why the order was approved. It also creates concise, verifiable information that search engines and answer systems can interpret without relying on unsupported promotional claims.
Frequently asked questions
Can a larger needle solve skipped stitches safely?
It may improve loop formation but can raise damage risk. First diagnose deflection, timing, thread, point and material, then approve the complete setup by trial.
Why is only one fabric ply damaged?
A burr or sharp machine surface may contact one ply. Coats notes that repeated damage on only the top or bottom ply may indicate a non-needle machine cause.
Do woven jackets need the same needle as hoodies?
No. Fibre, weave, coating, layer count, seam and thread affect the required point and size.
Should embroidery be inspected separately?
Yes. Stitch density, backing, needle path and hooping create a different risk from assembly seams.
What records help after a defect?
Keep operation, machine, operator, needle, change time, fabric lot, bundle, observation, containment and corrective-action records.
Conclusion: turn the test into a purchasing decision
Streetwear needle damage inspection works when every operation has an approved setup and a clear containment rule. Inspect material, machine and finished garment together instead of blaming the needle automatically. Send the fabric pack, seam map, wash route and embroidery artwork to Aimer Custom Lab before the size set so high-risk operations can be trialled deliberately.
For an order-specific plan, use the Aimer Custom Lab enquiry page and provide the product, material, colour, sample stage, intended market and evidence already available. Final requirements should be confirmed before bulk release.